Tuesday, January 24, 2012

The Pleasures of Eating... and a vegan cookie recipe too!

I have been on a baking rampage lately!  I don't remember the last day that I didn't bake some sort of treat... and that's exactly how life should be.  Some highlights from the past few days:

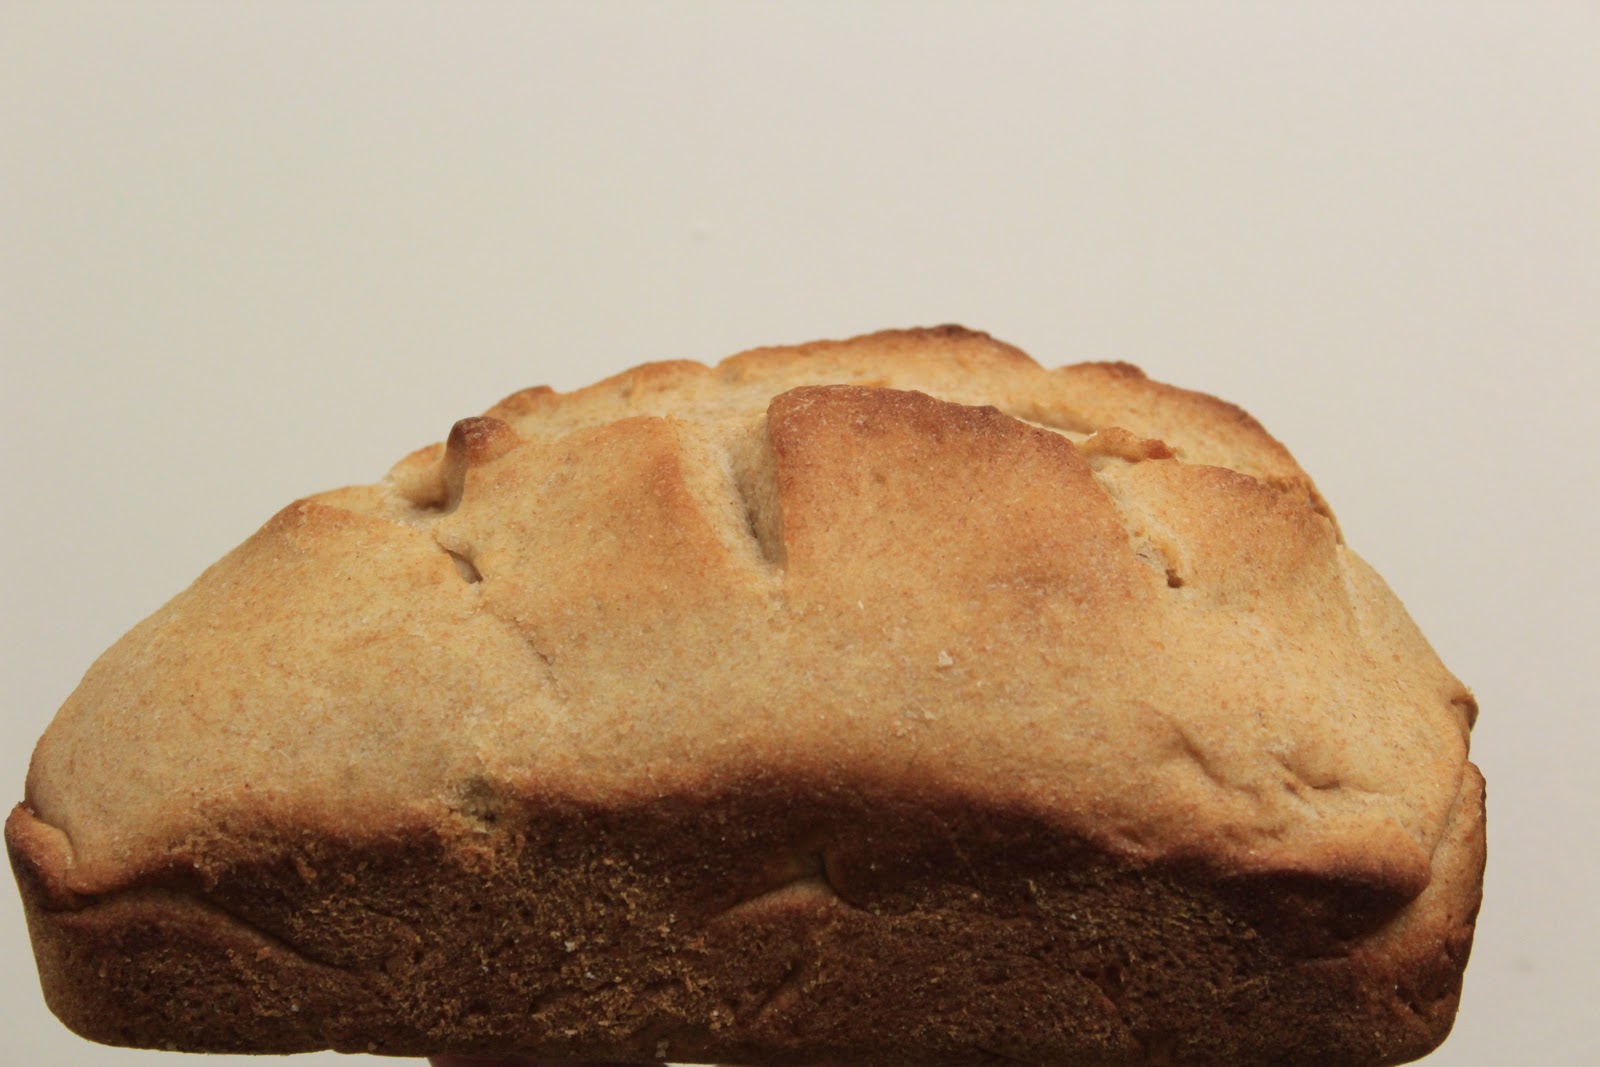
Whole wheat peach muffins adapted from this recipe.  We substituted approximately 2 cups of chopped canned peaches for the apples that the recipe calls for.  Made with peaches that I canned this summer!
Peach muffins.  Ugly, but yummy!

Flourless chocolate chip cookies from this recipe, made for my friend who recently had to start following the FODMAPS diet to deal with health issues.  Next time, to keep her stomach happier, I might try substituting white sugar or maple syrup for the brown sugar.  We used these cookies to scoop up banana soft serve ice cream!  It's the easiest thing in the world to make: just freeze a banana, put it in a food processor with a little splash of milk and maple syrup, and process until it turns into the consistency of soft serve ice cream!  You can put the concoction back in the freezer to harden up a bit, or just dig in right away.  You can make all sorts of flavor variations on banana soft serve, by adding delicious things like coconut, peanut butter, chocolate chips... the possibilities are endless.

Espresso brownies.  Some girls that I work with came over to bake last night and, being baristas, we had to make something coffee-flavored!  Seriously, next time you make a batch of brownies, try adding a tablespoon or two of ground espresso to the batter.  We topped the brownies with a homemade coffee-buttercream frosting (again, just ground espresso stirred into a typical chocolate buttercream frosting recipe) and they were unrreealll.

One reason that I've been baking so much food lately is to spend time with my friends at school before I leave in five days to spend the semester in Costa Rica!  I find that preparing and eating food is one of my favorite ways to catch up with old friends and connect with new friends.  The sense of pride and accomplishment that comes from preparing a delicious meal or treat and the pleasure from slowly savoring your creation over a conversation foster such a sense of community.  This, for me at least, strengthens my relationships with others in a way few other activities can.

Putting effort into preparing our own food from scratch, instead of buying only processed and packaged meals with ingredients that are unrecognizable from (and hundreds of miles away from) their original, natural forms, also builds important connections between food and farming.  When I buy a can of soup from the grocery store, I consider only my hunger and my wallet.  When I buy fresh vegetables from the farmer's market with dirt still on them, and turn them into homemade soup, I can appreciate the immense effort that it takes to feed a human being.  I can picture the farmer who grew those vegetables, and can relish in my food knowing that he/she and I both invested time and care into the final product.  Of course, we can't all eat this way all the time, but I feel so fortunate that I have the time and the means to put effort into making delicious food.  Homemade food truly does taste better - and Wendell Berry, in his essay "the Pleasures of Eating," offers an explanation for why: 

"The pleasure of eating should be an extensive pleasure, not that of the mere gourmet. People who know the garden in which their vegetables have grown and know that the garden is healthy and remember the beauty of the growing plants, perhaps in the dewy first light of morning when gardens are at their best. Such a memory involves itself with the food and is one of the pleasures of eating"

(If you have a few minutes, check out the essay.  It's really interesting)

Ok, enough words.  Here's a yummy cookie recipe!
 
Vegan Oatmeal Chocolate Chip Cookies
These cookies are chewy, banana-y, and so so so yummy.  Makes about 2 dozen small cookies.  But the dough doesn't have any eggs in it, so feel free to eat some (a lot).  In which case it won't make that many cookies ;)
adapted from this recipe

 1-2 very ripe bananas, mashed
1/3 cup canola oil (or coconut oil, which adds a delicious flavor and makes the cookies more crispy)
1/3 cup brown sugar
1/3 cup white sugar
1 teaspoon vanilla
1/2 cup whole wheat pastry flour
1/4 cup all purpose flour
1/2 teaspoon baking soda
1/4 teaspoon salt
1/4 teaspoon ground cinnamon
2 cups rolled oats
3/4 cup chocolate chips (which aren't always vegan, so check the label if you care about that)
1/2 cup chopped toasted pecans (optional)

  • Preheat oven to 350.  Line a baking sheet with parchment paper and set aside.  
  • Combine mashed banana, sugar, and oil in a large bowl until well combined, then add vanilla and salt. 
  • In a smaller bowl, stir together the flours, baking soda, and ground cinnamon, then add to the wet ingredients and mix until well combined.
  • Fold in the oats and chocolate chips until just combined.
  • Wet your hands, and roll dough into balls approximately an inch in diameter.  Transfer to the baking sheet and flatten slightly with your hand.  You can place the cookies quite close together, because they don't spread out much at all while cooking
  • Bake for 12 minutes, or until lightly browned around the edges.  Let cool on baking sheet for a couple of minutes before moving them to a cooling rack.

-Emma

Thursday, January 19, 2012

Chocolate Chip Apricot Cherry Scones

There is always a new excitement that arrives with the beginning of each semester and the hustle and bustle of figuring out your new set of classes and reconnecting with friends after our long winter break.  Or in my case being reunited after a long 8 months with many of my close friends after their semesters abroad.  Let's just say, it's been one of those weeks where I find myself walking around campus with a silly grin plastered on my face for no real apparent reason.  The air has most certainly been filled with excitement and newness on many fronts this first week back at school, so why not find something exciting and new to bake to celebrate?!  Chocolate Chip Apricot Cherry Scones was the perfect fit!


Kristen (my great friend and baking buddy here at Pomona) and I found a recipe on a blog called Eat, Live, Run, which was perfect for us as avid runners and food lovers.  The original recipe was just for chocolate apricot scones, but we spiced things up with the addition of dried cherries.  It would definitely be interesting to try out some different dried fruit/chocolate/nut combos in with the basic scones recipe provided... be creative with it!  But I do have to say, the apricot-cherry-chocolate combo we made turned out really well!


Chocolate Chip Apricot Cherry Scones
(recipe adapted from http://www.eatliverun.com/chocolate-chip-apricot-scones)


2 cups all purpose flour
1 T baking powder
1/2 tsp salt
1/2 cup sugar
6 Tablespoons cold unsalted butter, cut into chunks
1/2 cup + 2 Tablespoons cream

  • 1/2 cup chopped dried apricots
  • 1/2 cup chopped dried cherries (we used Bing cherries)
  • 1/2 cup semisweet chocolate chips

Preheat the oven to 425 degrees F.
In a large bowl, mix together the flour, baking powder, salt and sugar. Cut in the butter with your fingers and work mixture together until it resembles coarse sand. Add the chopped apricots, cherries, and chocolate chips.
Add the cream and mix with your hands until a dough forms. Make two six inch circles dough and slice each into 8 small wedges. Place wedges on a baking sheet and bake for 16-18 minutes, until golden brown.
Slicing the disk of dough into wedges 
Take out when slightly browned around the edges

Last step: Make some tea, open a bottle of wine, slice up some cheese, share with friends, be happy!
~Juliette

Wednesday, January 11, 2012

Bread: Back to beginnings


Freshmen year rolls :)
          When I think of home, I think of bread. For those of you who know my family, you know that my father's "Marty bread" has been a staple in our household. Usually it involved a thick crisp crust (usually with some cornmeal) and a rich hearty center. Since I got to college and realized that bread wasn't a mystical substance that only big men in chef's hats could create, I've had a fascination with making my own bread. Freshmen year I used to get up early to make rolls in the little shared kitchen downstairs. At first, I loved to experience making rolls. This way I could knead in whatever seasoning I wanted. I tried raison, cinnamon raison, italian spice, cheesy bread, and even chai bread (thank you Trader Joe's Chai Tea Mix).
          Now I've become a fan of honey wheat and oatmeal breads - big enough that I can cut slices for sandwiches or toast in the morning. Luckily I'm living with two roommates who appreciate and make bread themselves. I made this bread yesterday afternoon at my brother's apartment in Jersey. Despite the fact that the yeast was pretty old and consequently the bread did not rise as much as it should have, it turned out well by my standards. The recipe (like most of my other recipes) was adapted from a white bread recipe from allrecipes.com. I like to make it differently each time I make the bread. This version of the bread recipe turned out a little sweeter than I originally intended,  but it was delicious!


        A word on flours. It is best to use a bread flour, as it has a higher gluten content (12.5-14% gluten protein) than regular all-purpose flour (10-12% gluten protein). The more gluten protein in the flour, the more the protein can bind to the flour and give you a better rise. Thus, bread flour = better rise. I've also found that bread flours keep the bread together better when you slice it up. However, if you don't have bread flour, that's fine! Your bread will still be delicious. Wheat flour has an even higher protein content than bread flour, but you need to be careful you don't add too much or your bread will become hard. A great website if you're looking to get into breads is: http://www.thefreshloaf.com/


                          Bread Recipe (white or wheat)

-2 cups warm water (110 degrees F/45 degrees C)
    • -for this step I just tell the temperature by touch. If it feels slightly warmer than your hand when you dip it in, it should be good. If you want to be a pro (or are unsure) you can take the temperature.
  • -2/3 cup white sugar/honey/agave
    • -for wheat breads I like to use honey or agave. The agave is a little cheaper and I really love the flavor!
  • 2 packets dry yeast
  • 1 1/2 teaspoons salt
    • -make sure you get enough salt, but don't oversalt. Salt is a surprisingly important part of the process.
  • 1/4 cup vegetable oil
  • 6 cups bread flour
    • -you can always do 4 cups white and 2 cups white/wheat. However the number of cups should depend on how the dough feels as the process goes on. 
  • -Any herbs/spices you want to add (for example oregano, thyme, rosemary)


  1. In a large bowl, dissolve the sugar/honey/agave in warm water, and then stir in yeast. Allow to proof until yeast resembles a creamy foam. This process takes about 10-15 minutes and you'll see the yeast foaming. If it doesn't foam well this probably means the yeast is too old or the water may have been too cold or hot. 
  2. Mix salt and oil into the yeast. Mix in flour one cup at a time. You can alternate between white and wheat flours. You may not need all 6 cups or you may need more. You want the bread to be elastic so it doesn't quite stick to your fingers anymore when you knead it, but at the same time not too dry. If you want to add herbs/spices, add them to the dough as you add the flours. Knead dough on a lightly floured surface until smooth.  Place in a well oiled bowl, and turn dough to coat. Cover with a little bit or saran wrap and top with a damp cloth. Allow to rise until doubled in bulk, about 1 hour. I always make sure to keep the bread in a warm place, as this helps with the rising process.
  3. Punch dough down. Knead for a few minutes, and divide in half. Shape into loaves, and place into two well oiled 9x5 inch loaf pans. Allow to rise for 30 minutes, or until dough has risen 1 inch above pans. (this is important! Let the dough rise in the pan before putting it in the oven).
  4. Bake at 350 degrees F (175 degrees C) for 30 minutes.


Enjoy!

Kate

Monday, January 9, 2012

Lavender Chocolate Cupcakes

I'll be honest with you, when I first saw this recipe I was skeptical.  Lavender?  When I think of lavender I think of a bar of perfumed soap sitting in a flowery ceramic dish next to Grandma's pearls by the wash bowl. Yeah, I most certainly do not jump to "chocolate cake."  Yet when Sam (a lovely friend of ours, also a fellow cooking/baking newbie) and I got to work on these we found that we had made ourselves a delightful surprise!  These cupcakes are hard to describe... they are simple, yet intriguingly good.  Hard to put the taste into words.  Perfect for a tea time treat to satisfy your sweet tooth without overwhelming you with a rich chocolate taste.

What I liked the most about this baking experience was the strong scent of lavender that lingered in the warm kitchen air.  This recipe reminded me how specific scents can take you back so vividly to a certain memory.  Lavender is used in potpourri and as a soothing fragrance in many soaps and lotions.  In fact, Ancient Romans placed a steep price on lavender and used it in their baths to scent the water probably for its fresh soothing effect (thank you, Wikipedia).  And so when I first whiffed the steeping lavender tea (from the some of the same tea leaves used in the recipe) my mom made as we were baking these cupcakes I was abruptly brought back to my chemotherapy days because of a set of lavender lotions used to help ease you to sleep I had been given (by Kate and Emma, in fact!).  It shocked me how quickly the memories of those days, so much forgotten in my life today, flooded back to me; it was bittersweet.  But it felt overwhelmingly comforting; many memories of being taken care of, even if it had been a tough time.


And so for me, that's how I would describe these delicious little desserts - they tasted of memories and nostalgia mixed into a airy, fresh chocolate batter.  A perfect treat for a warm evening in a cozy kitchen on a January night with a lovely friend and a cup of tea.


Lavender Chocolate Cupcakes
(adapted recipe from www.thepastryaffair.com)

Makes about 14 cupcakes

1/2 cup unsweetened cocoa powder 
2/3 cup hot water 
8 tablespoons butter, room temperature 
1 cup granulated sugar 
2 large eggs 
1 teaspoon vanilla extract 
1 tablespoon lavender (we couldn't find dried lavender, so we used lavender-tulsi tea leaves in teabags)
1 1/2 cups all-purpose flour 
1 3/4 teaspoons baking powder 
1/2 teaspoon salt
Powdered sugar

1. Preheat the oven to 350 degrees F.  Line the cupcake tins with cupcake liners.

2. In a small mixing bowl, whisk together cocoa powder and hot water.

3. In a large mixing bowl, cream together the butter and sugar. Add the eggs one at a time, mixing well between each addition. Cut open tea bags and add the tea leaves to the mixture.  Add vanilla extract.

4. Slowly add flour, baking powder, and salt. Finally stir in the cocoa mixture. Mix until smooth.

5. Fill the cupcake liners about 2/3 full of batter, and bake for 15-20 minutes or until a toothpick comes out clean. 

6. After cupcakes have baked, dust powdered sugar over the top.

And finally sit back and enjoy!
~Juliette


Chickpea and Sweet Potato Koftas

I'm lucky enough to live in a house at school with ten other women who love food just as much as I do!  We live in an "honor house," which is owned by our college and requires us to carry out a project built around a theme of our choice.  Our house draws inspiration from Wendell Berry, a farmer and author.  We are focused on building community around local and sustainable food.  As part of our project, we cook meals together as a house 2-3 times per week.  We take the time to cook food from scratch, sit down and eat together, and talk about our days.  The bonds that we form through this weekly ritual are an important factor in allowing eleven girls to live together (mostly) peacefully!

Tonight was one of our meal-cooking nights, and we made a delicious dish that I had to share.  This is one of my favorite recipes to make, it's really simple, AND it meant that I had a chance to use my new food processor!  We adapted a recipe from Molly Katzen's cookbook Vegetable Heaven to make it gluten-free for my housemate who is allergic to wheat.

Chickpea and Sweet Potato Koftas
Koftas are a traditional East Indian dish that is usually deep-fried - this recipe calls for sauteing them instead.
1 medium-sized sweet potato or yam*
1 15-oz. can chickpeas, rinsed and drained (if using dried chickpeas, use around 1 1/2 to 2 cups cooked)
1 large clove garlic
2 scallions, cut into 1-inch pieces (sometimes I use a bit of diced onion instead)
2 tsp. lightly toasted cumin seeds
1 Tbsp minced fresh ginger
1 tsp. salt
2 Tbsp lemon juice
Black pepper to taste
6 Tbsp brown rice flour (I found this in the bulk bin at my local coop)
1 cup fresh or frozen peas (you don't have to defrost the frozen peas before adding them)
Oil for sauteing
  
  1. Poke the sweet potato a few times with a fork, then cook in the microwave until soft (around 5 minutes, depending on your microwave) and peel.  This should yield about 1 1/2 cups of cooked sweet potato, but the recipe is very forgiving and any amount in that ballpark will work.  Transfer to a food processor.
  2. Add the remaining ingredients except flour, peas and oil.  Puree until fairly smooth and transfer to a bowl.
  3. Stir in the flour until it is thoroughly incorporated, then gently stir in the peas.  Form into patties.
  4. Over medium-high heat, heat up some oil in a skillet.  Add the patties and saute for a few minutes on each side until lightly browned and heated through.  Depending on your sweet potato, they will probably still be very soft and will fall apart easily, but that's okay.  You just want them to be warmed through. 
Chickpea and Sweet Potato Koftas
Molly Katzen recommends serving these in pitas with tomatoes, cucumbers and yogurt.  We used them in a delicious salad that included
  • Mixed greens and spinach
  • Roasted zucchini and red peppers (roasted on an oiled baking sheet in the oven at 375 degrees for about 30 minutes)
  • Koftas
  • Cucumber yogurt dressing (I put some plain yogurt, sliced cucumbers, dried dill, toasted walnuts and a pinch of salt in the food processor and pureed the sauce until it was smooth)
  • Crumbled feta cheese
Enjoy!
-Emma

Saturday, January 7, 2012

Hello from the land of pop, hot dish and bubblers

... otherwise known as the Midwest!
I'm Emma, and I didn't stray quite as far from home as these other two ladies, as I'm currently living it up in Minnesota.  I guess I'm the hippie/nerd of the group, getting way more excited than normal about biking to work in the dead of winter, cooking with weird foods like coconut oil and chia seeds (yes, the same ones that grow into chia pets), and discussions about sustainable agriculture.  Just like my friends, I absolutely loooooooove food -- eating it, making it, looking at pictures of it... I got a food processor for Christmas and just about died of happiness.


Cinnamon rolls from this recipe


I'm really interested in nutrition, and I love the challenge of coming up with healthy meals for one on a college student's tight budget of money and time.  Still, I have a major sweet tooth and I relish the days when I have time to make delicious sweet treats.


I work at a coffee shop that sometimes requires me to work reaalllly early in the morning -- so early there's no way I'm setting the alarm clock back an extra 15 minutes to make a pot of oatmeal-- but I don't like to miss out on making breakfast, my favorite meal of the day! 
Thankfully, I've come up with a few great breakfast recipes that are ready to eat in the morning before work!  They require a little bit of preparation beforehand, but making breakfast is the perfect homework break when you're already in the kitchen scrounging for study snacks at night.
Here are a couple of my favorite oatmeal breakfasts:

Overnight Oatmeal
1/3 cup rolled oats
1/3 cup milk (or nondairy milk)
1/3 cup yogurt (I use plain, but flavored would be yummy too!)
~1/8 tsp vanilla
pinch salt

Mix all ingredients together in an empty jar (I use my old peanut butter jars), cap the jar, and place in the fridge overnight.  In the morning, the oats will have soaked up the liquid and will be soft and delicious!

Slow-cooker Steel cut Oats
heaping 1/4 cup steel cut oats
1.5 cups water, milk, or nondairy milk
~1/8 tsp vanilla
pinch salt 

Mix all ingredients in a glass jar (again, empty peanut butter jars come in really handy!) and set in a slow-cooker without capping the jar.  Fill the slow-cooker with enough water that it comes to about halfway up the jar.  Set the slow-cooker on low heat, and go to sleep.  In the morning, the oats will be cooked and creamy!  

Both of these are basic recipes that you can play around with by mixing in different additions.  Some combinations I've come up with:
  • mashed banana, cocoa powder, and a scoop of peanut butter
  • raisins, walnuts, and a sprinkle of cinnamon
  • canned pumpkin, dried cranberries, and a pinch each of ginger, cinnamon, and cloves
  • raspberry jam and peanut butter
  • shredded carrots, dried coconut, and a bit of maple syrup 
  • peanut butter, dark chocolate chips, and crumbled pretzels
  • ... the possibilities are endless!  Experiment with adding some ingredients at night, and others that you don't want to get soggy (like granola or pretzels) in the morning before you dig in.
Happy oatmeal-ing! 

Thursday, January 5, 2012

West Coast is where it's at!

This would be me!
Well, hello!  I'm Juliette, and I happen to be livin' it large out in California, so I assume responsibility of the West Coast chapter of this blog! A little about me... I'm the artsty, chill, yet occasionally sassy one.  Recently when I haven't been running, taking a nap, or doing the whole school thing, I've been trying out some new things in the kitchen.  Warning: I am most definitely the least experienced with this whole baking/cooking/creating food thing compared to these two other ladies, but I have an intense love for food and have recently become a little obsessed with photographing beautiful kitchen creations.  Tasty food is even better when it looks beautiful!  I'm excited to share my experiences as a novice cook/baker and photographer with both Kate and Emma, and of course YOU!

I haven't been as ambitious as Kate with my winter break... but I just made a batch of simple, yet always mouth-watering peanut butter kiss cookies!  Since peanut butter cookies are my favorite, I suppose it's fitting to start off my part in this blog with them.  Earlier before winter break I made some with my friend Kristen back at school which were rolled in red and green sprinkles instead of sugar (if you're looking to be extra festive).  If you haven't tried these yet, you gotta!
                                                                                               
      "Peanut Butter Blossoms"
(adapted recipe from www.herseys.com)

48 herseys kisses (I used dark chocolate this last time!)
3/4 cup peanut butter (natural peanut butter actually works well for these)
1/3 cup light brown sugar
2 tablespoons milk
1 & 1/2 cups all-purpose flour
1/2 teaspoon salt
1/2 cup butter
1/3 cup granulated sugar
1 egg
1 teaspoon vanilla extract
1 teaspoon baking soda
Granulated sugar or sprinkles


 1. Heat oven to 375*F.


2. Beat butter and peanut butter in a large bowl until well blended.  Add 1/3 cup granulated sugar and brown sugar; beat until fluffy.  Add egg, milk, vanilla; beat well.  Stir together flour, baking soda and salt; gradually beat into peanut butter mixture.


3. Shape dough into 1-inch balls.  Roll in granulated sugar or sprinkles; place on ungreased cookie sheet.


4. Bake 8 to 10 minutes or until lightly browned.  Immediately press a chocolate into center of each cookie (cookie will probably crack a little around the edge).  Remove from cookie sheet to wire rack.  Let cookies cool completely before enjoying!  Makes about 4 dozen cookies.


Wednesday, January 4, 2012

Blogger up! East Coast Chapter

Me. Obviously.
     So as many of you may have noticed there are three of us writing this blog. Strangely enough, although we all grew up in the same place, we're currently living as far away from each other as is possible. I get to be the East Coast Chapter. Pretty exciting. It's almost like a "Switched at Birth" episode. But with food, not children. And pictures.   
Holiday decorations 
      For those of you who don't know me. I'm Kate, the weird, entertaining, sometimes-makes-too-many-dirty-jokes one of the bunch. As my mother would probably say in response, thank god these blog posts are mainly in pictures or we'd probably be here a while. She's probably right. I also ended up being the one with the short attention span, so apologies in advance if any of my dishes look half finished or undecorated. I assure you they taste good. Aesthetic appeal is not one of my strengths.     
Rum balls
     For my first installment I decided to feature some of the delicious treats my brother and I made for Christmas/Hannukah/Insert-any-holiday-you-want-to-celebrate-by-drinking party. Over the holidays, I had a lovely philanthropic visit from the white-haired man in red (not Ron Paul) and received a wonderful new camera that takes wonderful pictures of food. Perfect timing. Enjoy!


Ginger molasses cookies


Lemon bars garnished with fresh fruit
       Recipe for lemon bars 
(courtesy of allrecipes.com with my own additions)


  • 1 1/2 cups all-purpose flour
  • 2/3 cup confectioners' sugar
  • 1/2 (1 stick) butter and 1/4 cup oil
  • 2 teaspoons vanilla
  • 3 eggs
  • 1 1/2 cups white sugar
  • 3 tablespoons all-purpose flour
  • 1/4 cup lemon juice (fresh squeezed is best!)
  • 2-3 tsp lemon zest (if you used fresh lemons)
  • 1/3 cup confectioners' sugar for decoration!
  • fruit for decoration


    1. Preheat the oven to 375 degrees F (190 degrees C). Grease a 9x13 inch baking pan.
    2. Combine the flour, 2/3 cup confectioners' sugar, and butter. Pat dough into prepared pan.
    3. Bake for 20 minutes in the preheated oven, until slightly golden. While the crust is baking, whisk together eggs, white sugar, flour, and lemon juice until frothy. Pour this lemon mixture over the hot crust.
    4. Return to the preheated oven for an additional 20 to 25 minutes, or until light golden brown. Cool on a wire rack. Dust the top with confectioners' sugar. Cut into squares.